You’ve probably noticed a very popular trend recently of vintage styled logos, or “hipster” logos. Here’s a quick tutorial to craft up some of your own with resources and inspiration to inspire your hipster creation. For this tutorial I’ll be using the phrase “Visit the Sea, Travel Authentically”.
Resources Used for this Project
Photos
Inspiration
Fonts
- Geared (Font I used)
- Nevis
- Bebas Neue
- Lavanderia
- Dense Regular
- Mission Script (Font I used)
- Drop Your Anchor
- Wisdom Script
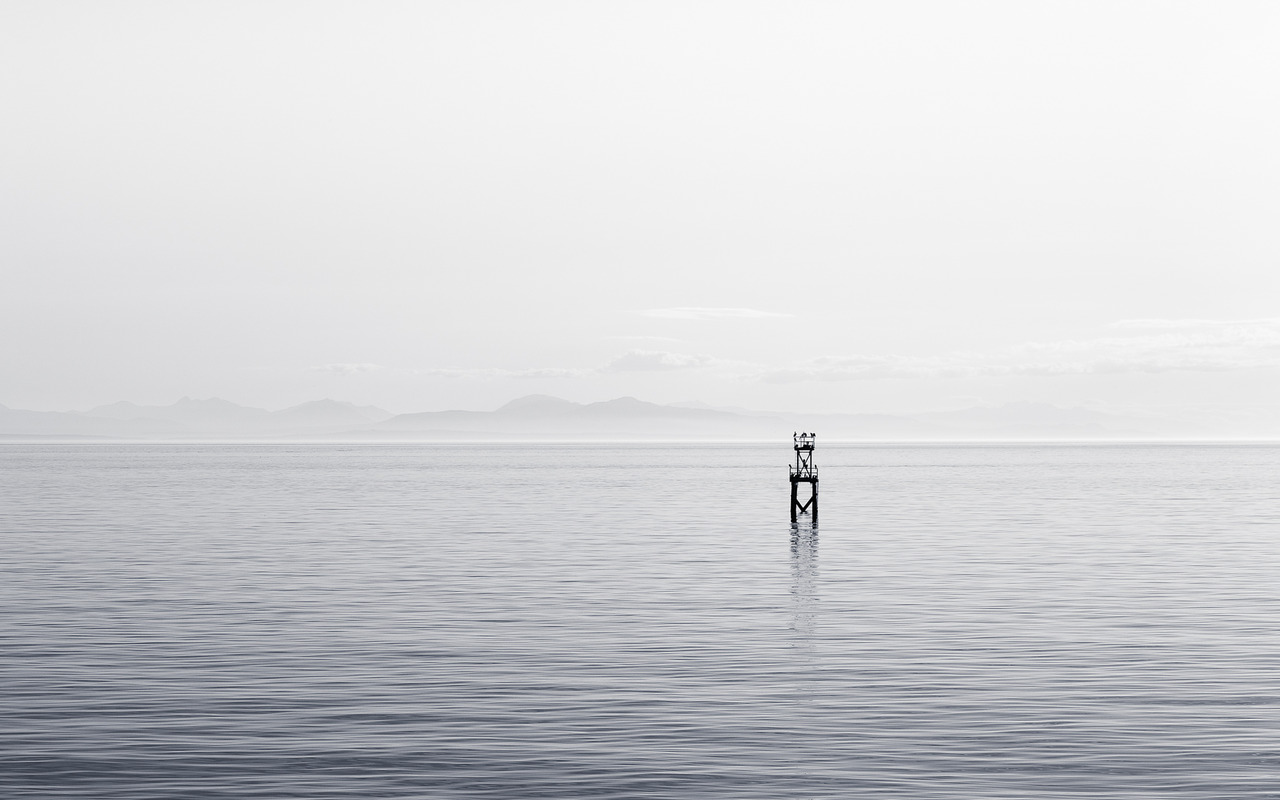
First we’re going to start of with a vintage feeling photo to create a scene for the whole logo. If you don’t have photos you can find tons of free to use photos on Unsplash. I’m going to start out with this photo of the Ocean.
Find some fonts you’d like to use on your logo, I recommend using two or three, for this tutorial I’ll be using Wisdom Script and Geared. We’re going to simply place our text with our selected fonts on the page, to get some ideas of how you’d like yours to look check out Creative Market.
![]()
Adding elements such as blocks (as seen above), stars, or even circles add a little extra flair. I choose to use two colors but most of these logos will look good in just black or white.
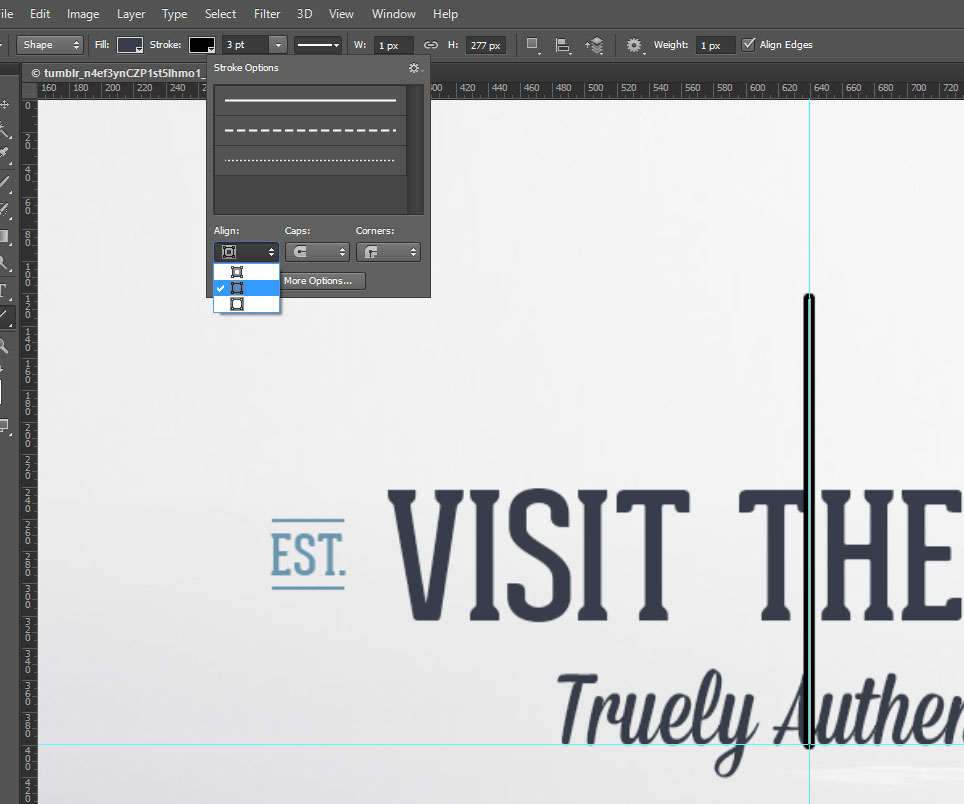
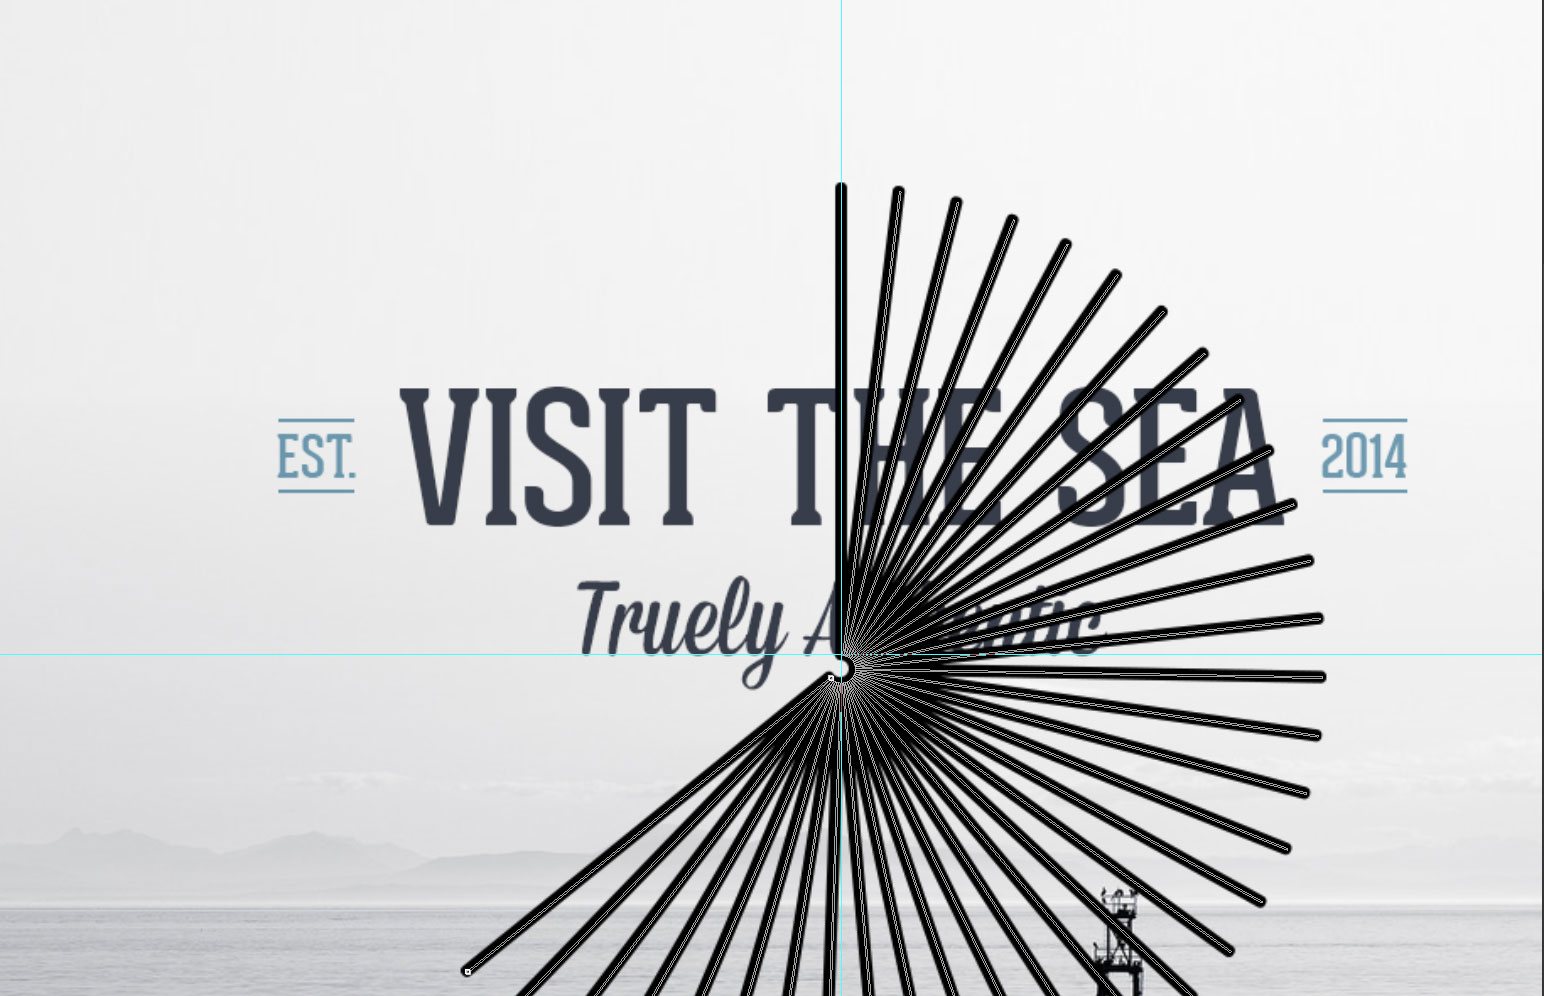
Probably one of the more difficult parts of this tutorial is the starburst effect in the background. I simple just made a line using the line tool that was 1px wide and a border that gave it the rounded effect. Once that was created I duplicated the layer and put it on the original, transformed (right click > free transform), then put the free transform alignment (the small circle in the middle when you free transform something) to the center of the starburst. After this I changed the angle about 7 degrees, aftering doing this you should be able to hit CTRL+SHIFT+ALT+T this will repeat your last action while duplicating the current layer. Repeating this 20+ times gave me my desired starburst effect.
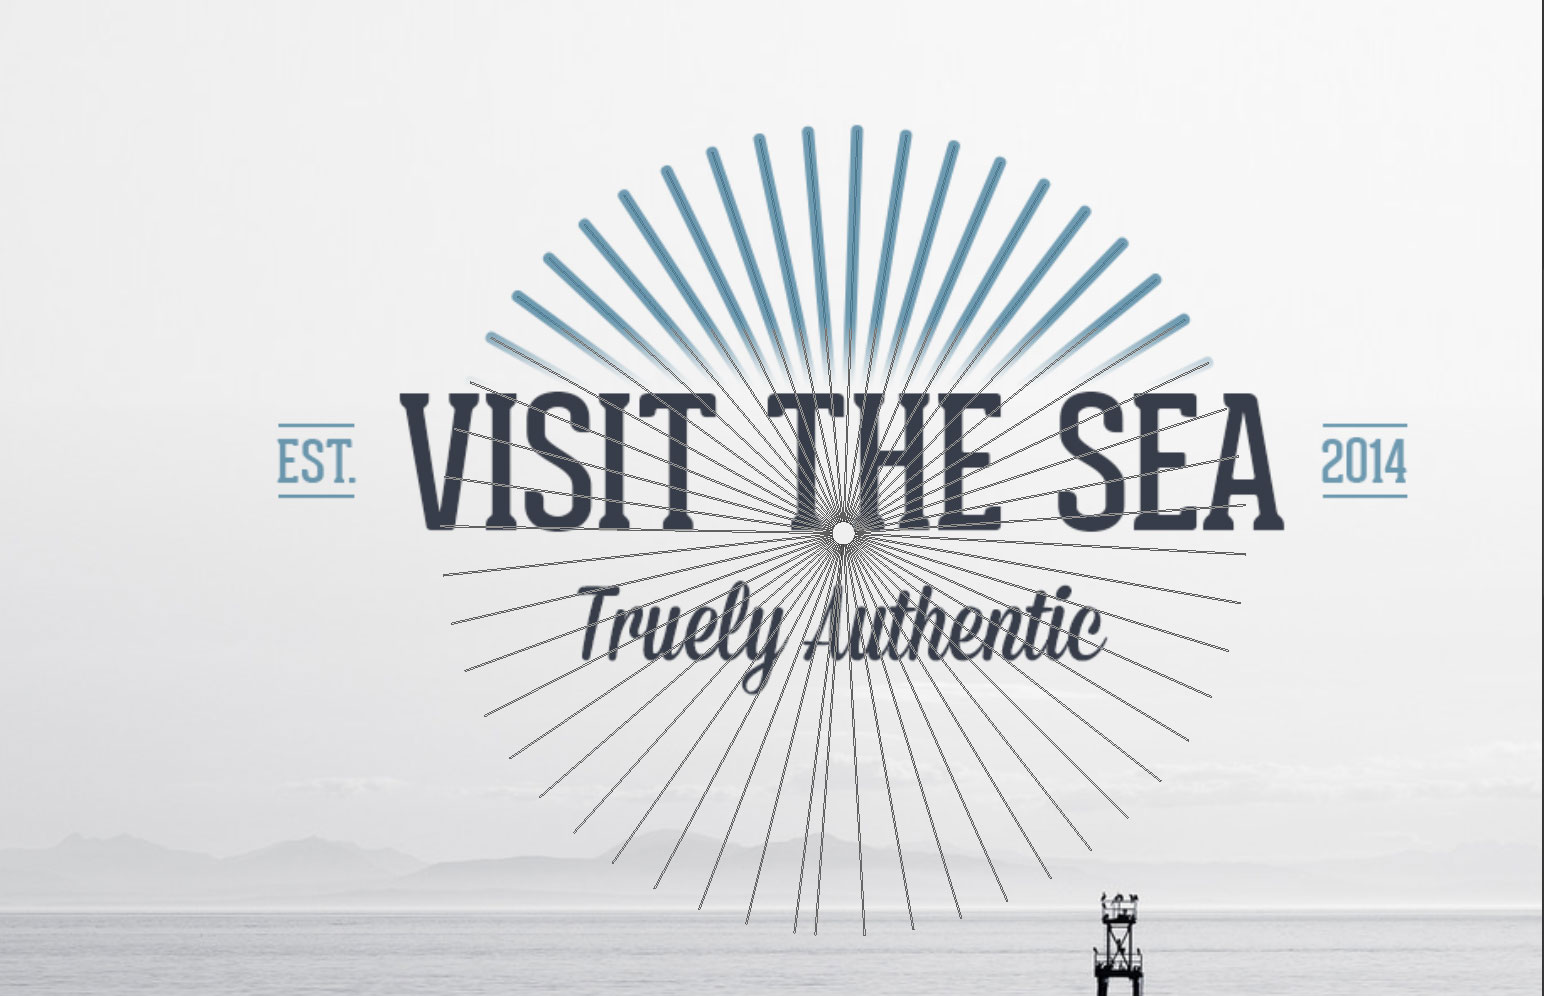
Once the starburst was created I simply put all the pieces in a folder and added a layer mask (the small circle button next to FX on the layer pane). When editing the layer mask you’ll be able to add a gradient on top of the layer displaying only part of the original layer, so you can see how I used it to fade it behind the “Visit the Sea” text.
To add the final touches I’ll be using a grunge brush to make the logo appear worn. This can be done by putting all of your assets in a folder and adding a vector mask to the folder. From this point you’ll be able to use the brush on top of your logo add the worn effect.
![]()
And there you have it our final result, are there any fonts or resources you found useful for making a hipster logo?
This is SO helpful! Thank you and thanks to Google for somehow leading me to this.
Glad I could help!
Very nice. I’ll try to create a similar logo on logaster.com. Can get!