TL;DR I built a free blog title generator on my friend Ryan Robinson’s site using OpenAI’s API. This process has led us to create RightBlogger, an AI tool suite for bloggers.
It’s incredible to finally see AI reach a usable point to built web products easily. It all started when I found OpenAI’s GPT-3 API which allows you to submit a “prompt” and get a response from their AI engine. Of course since I built this tool originally in 2022 AI has massively accelerated with the launch of models like GPT-5.4 and Gemini 3.1 Pro.
Adding AI to Write at Scale
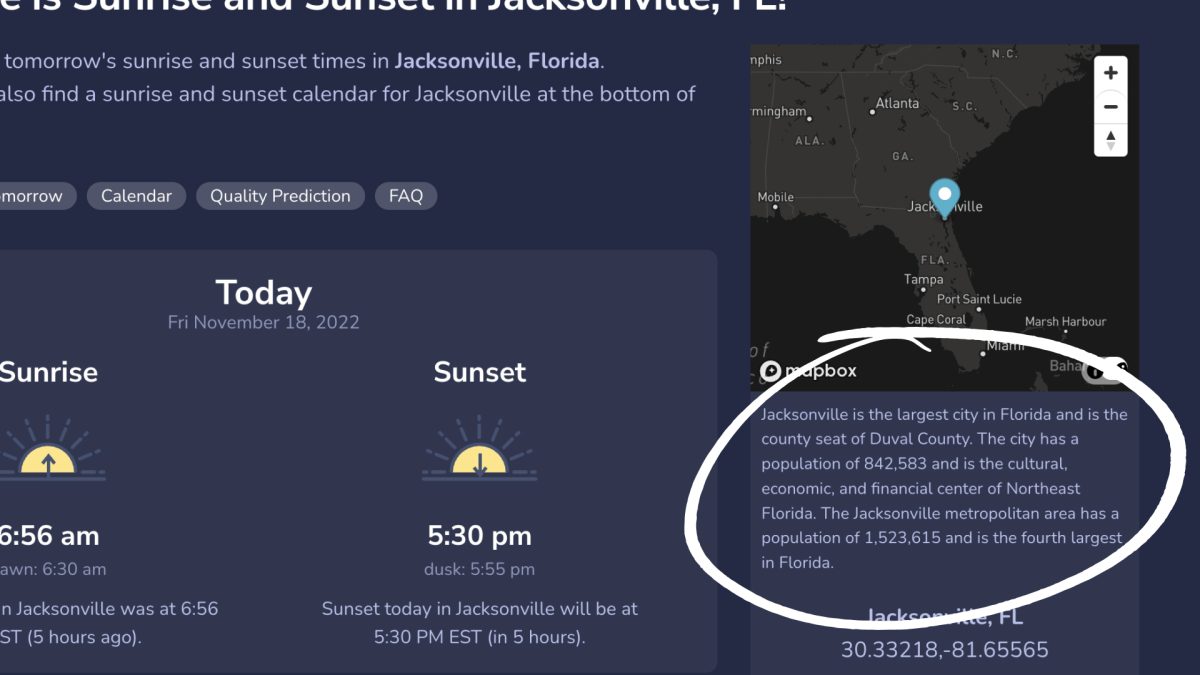
I even started to play around with OpenAI’s API to auto-write descriptions on my site SunriseSunset.io since I had no way to manually write city descriptions for 100,000+ cities.
One of the key things to know about building AI powered tools is how to write prompts that return meaningful results. That’s where the creativity comes in. The more context and guidance you give GPT-5, the better the output. If you’re new to writing prompts, here is a full list of ChatGPT prompts for writers.
After experimenting on SunriseSunset I wanted to build something more useful and luckily my friend Ryan Robinson had the perfect use case.
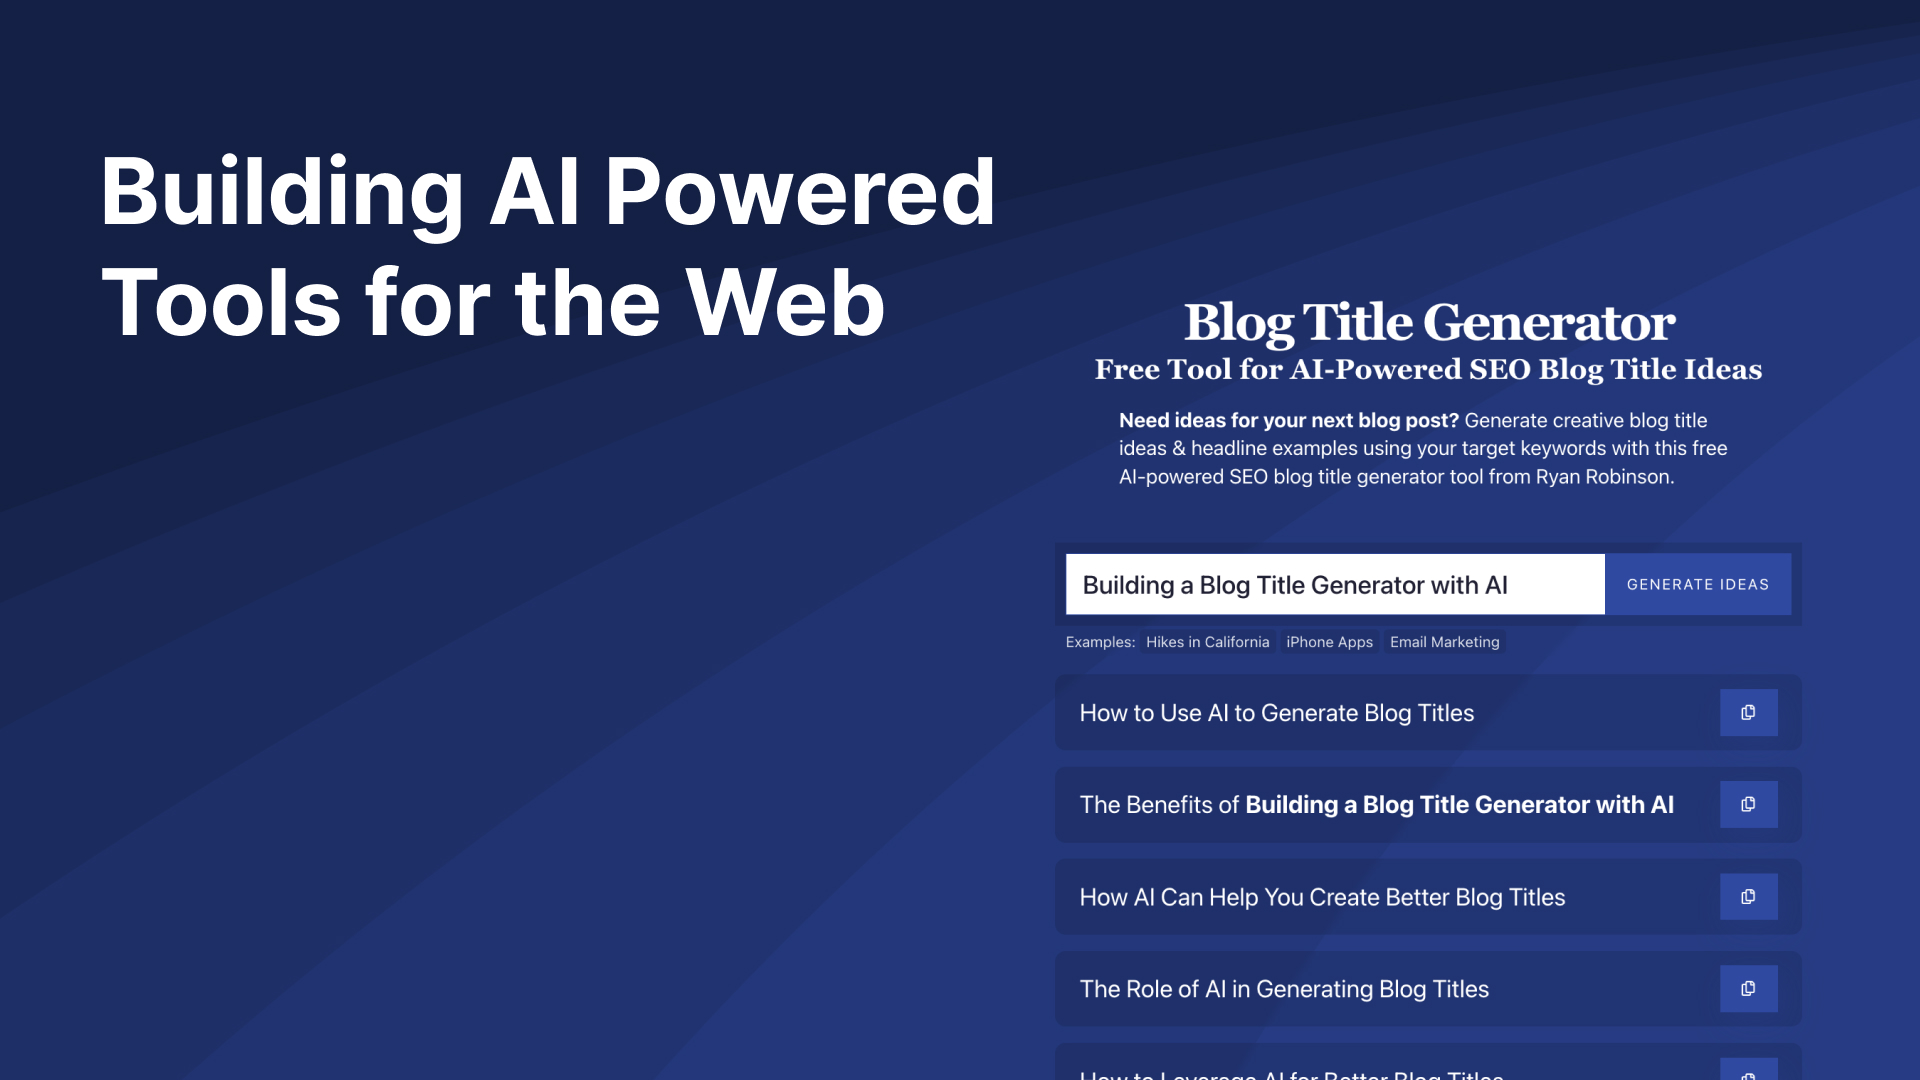
Building Free AI Tools for RyRob
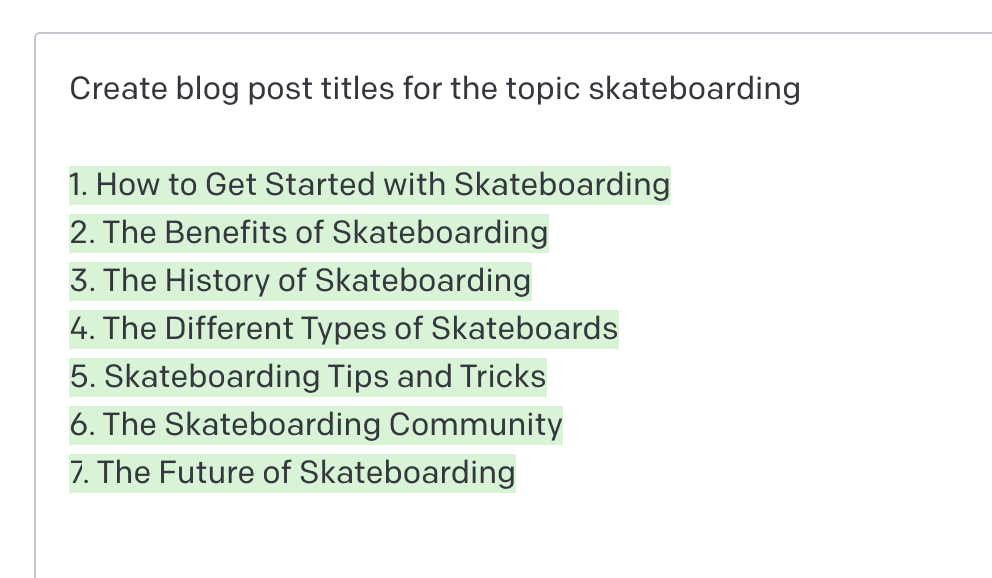
Ryan needed a blog title generator for his blog which I figured it would be the perfect use of GPT-5. When I built this tool other blog title generators seemed to just auto-fill your keyword into a preset list of phrases (how boring). It’s funny to think about how people expected free web tools to work before AI.
Using GPT-5 (which stands for Generative Pre-trained Transformer) gives you the ability to dynamically respond to a user’s input as if a person is replying. It handles typos and messy input gracefully, which makes it practical for real users.
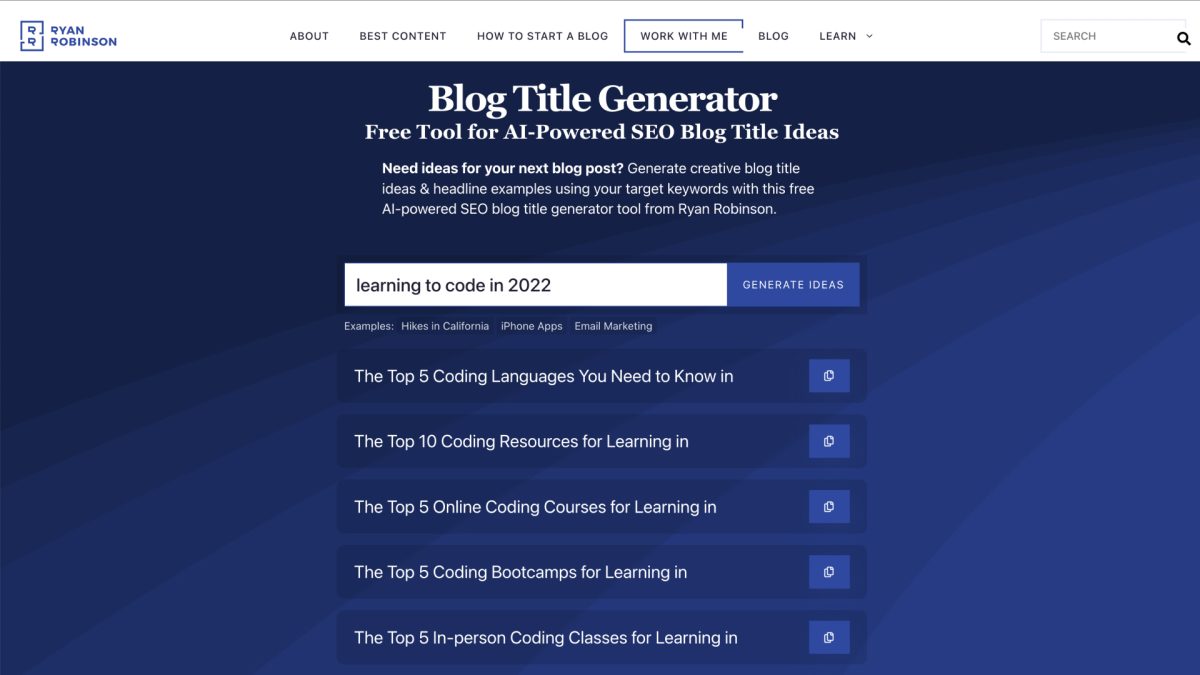
While the blog title generator can give you some great ideas for headlines it’s still recommended to modify them or write your own. It’s just kind of a super charged way to get inspiration for your post.
If you are planning on building a web tool with GPT-5 and OpenAI keep in mind it’s usage based pricing. So if you have a large prompt or a lot of users costs can add up quickly. You’ll likely want to add a captcha, accounts, or some kind of rate limiting.
Try out the blog title generator yourself and let me know how it works for you. I’ve also built a number of free AI tools for Ryan’s site that thousands of people use every month. If you want to build your own embeddable AI tools for lead generation, I developed AI Tool Studio on RightBlogger specifically for that.